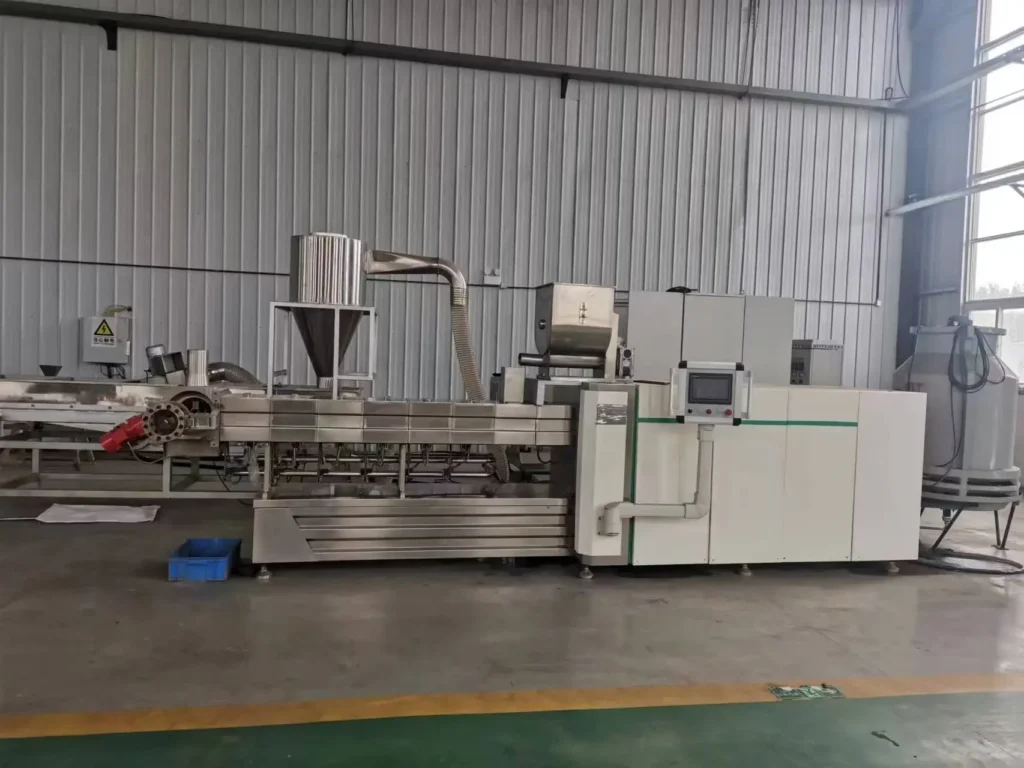

Most operators blame material defects when a dryer belt snaps on day one, but the real culprit is often improper initial tensioning combined with transit humidity.
Systematic on-site checks of belt tension, fan vibration, and temperature probe accuracy are the absolute prerequisites for preventing unexpected downtime and ensuring consistent kibble moisture in any pet food extrusion line.
Back in my early days handling logistics and documentation in Foshan, I spent countless hours supervising dryer loading. I still vividly remember a pet food drying line shipped to Thailand. We rushed the loading without double-checking belt tension or securing the fan guards against the high-humidity ocean freight environment. When the client powered it up, the belts slipped and snapped immediately, and the moisture-compromised fans screamed with abnormal noise, halting the entire line. That mid-six-figure loss taught me to obsess over field realities. Now, when evaluating pet food dryer maintenance, I always visualize the shop floor first: how to adjust a sagging belt, how to trace a vibrating fan, and how to verify if a temperature probe is drifting. Once machinery reaches overseas plants, these seemingly minor checks become the lifeline of the production line.

Transitioning from reactive panic to proactive verification requires a structured approach to the three most vulnerable components.
Why Do Dryer Belts Slip After Long-Distance Shipping?
Belts do not simply wear out; they lose tension due to environmental shifts and transit vibrations, making deflection measurement the only reliable validation method.
When a heavy-duty dryer crosses oceans, the constant vibration and fluctuating container humidity subtly alter the belt’s seating and tension. Many plant managers assume a slipping belt indicates a poor-quality rubber compound. In reality, it is frequently the result of inadequate initial tensioning before shipping, exacerbated by the micro-movements during transit.
To execute a proper pet food dryer belt tension adjustment, follow this field-tested sequence:
- Lockout and Isolate: Strictly adhere to lockout/tagout protocols to ensure zero energy state before touching the drive system.
- Locate the Mid-Span: Identify the longest unsupported span of the belt between the drive and tail pulleys.
- Apply Deflection Force: Press down firmly at the center of the span with a calibrated force gauge or a known weight.
- Measure the Dip: The belt should deflect within a specific fraction of the span length. If it dips too easily, the tension is critically low.
- Adjust the Take-up: Incrementally tighten the tensioning screws on the tail pulley bearing blocks, ensuring both sides are adjusted equally to prevent tracking issues.
I once consulted for a Southeast Asian contract manufacturer where a newly installed line kept throwing belts. The local team kept replacing them, blaming the supplier. Upon inspection, we found the initial tension was set for a dry climate, but the monsoon humidity caused the belt to stretch beyond its tolerance. A simple pet food dryer belt tension adjustment based on real-time ambient conditions solved the issue permanently.

How to Troubleshoot Fan Vibration and Abnormal Noise?
Fan noise is rarely a sign of immediate bearing failure; it is predominantly caused by micro-debris accumulation or moisture-induced blade imbalance.
In the thermal processing of pet food, the exhaust environment is harsh, carrying fine dust, oil mist, and moisture. When operators hear a low-frequency hum or feel excessive vibration, the instinct is to schedule a bearing replacement. However, industrial dryer fan troubleshooting usually reveals a much simpler physics problem: mass imbalance on the blades.
To differentiate between bearing wear and debris imbalance, execute this diagnostic flow:
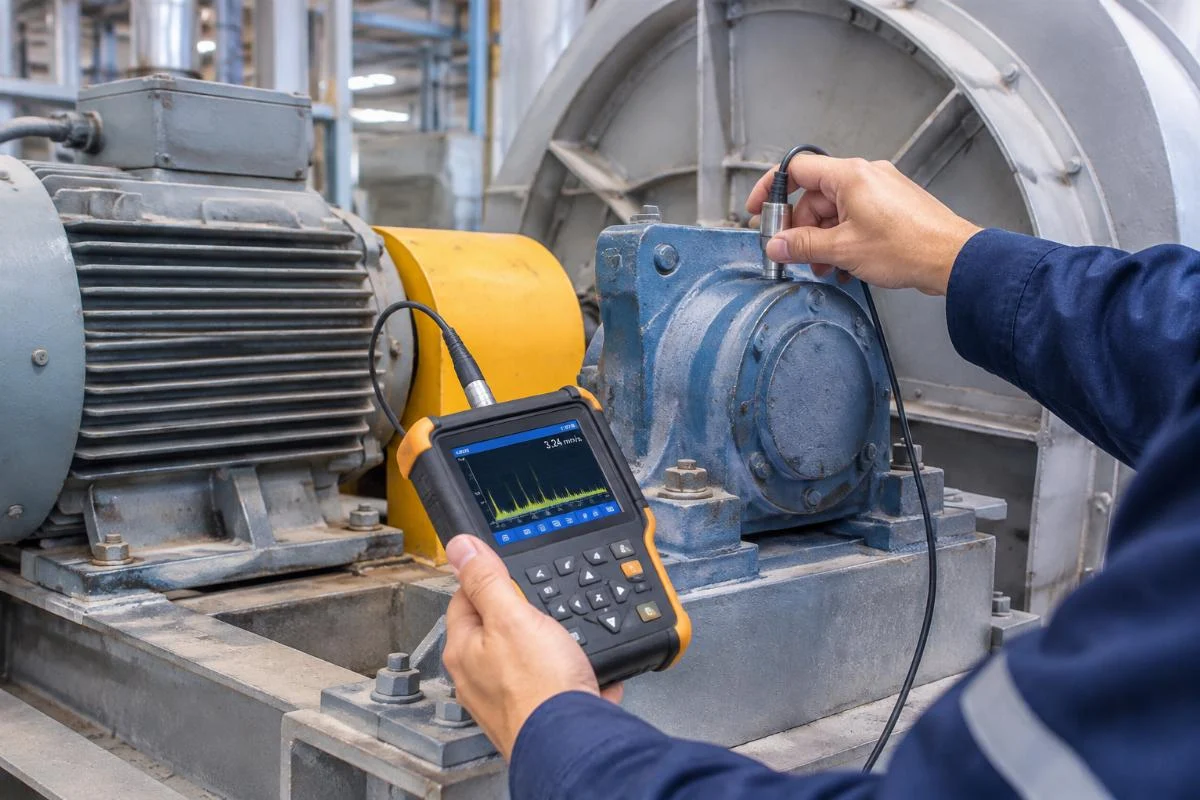
- Baseline Vibration Check: Use a handheld vibration analyzer to measure the amplitude in millimeters per second. Compare it against the manufacturer’s acceptable threshold.
- Visual Blade Inspection: Safely access the fan housing. Look for uneven buildup of pet food dust or condensation on the impeller blades. Even a thin layer of compacted debris on one blade creates massive centrifugal imbalance.
- Moisture Assessment: Check the housing drain ports. If they are blocked, internal condensation will pool, leading to rust spots that act as permanent weight imbalances.
- Bearing Acoustic Test: If the blades are clean and drains are clear, use a mechanic’s stethoscope to listen to the bearing housing. A smooth, consistent hum indicates health; a gritty, crackling sound confirms bearing degradation.
A European pet food startup faced severe vibration alarms on their main cooling dryer. They prepared to shut down for a week to replace the fan assembly. During a remote diagnostic session, we guided their maintenance tech to clean the fan blades and clear the condensate drains. The vibration dropped noticeably, and the line resumed operation within hours, saving them extended service life meaningfully compared to a full teardown.
How to Calibrate Temperature Probes for Accurate Drying?
Probe drift is the silent killer of kibble consistency, causing uneven moisture levels that lead to mold growth or excessive energy waste.
The core argument of consistent pet food dryer maintenance is that temperature dictates moisture. If the sensor reading drifts, the PLC will adjust the burner incorrectly, resulting in under-dried or burnt kibble. Most facilities wait for a quality control failure to check the sensors. Proactive dryer temperature probe calibration is the only way to guarantee thermal accuracy.
Follow this standard two-point calibration process to verify sensor integrity:
- Prepare the Ice Bath: Fill a insulated container with crushed ice and distilled water. Stir and let it sit until the temperature stabilizes at the freezing point.
- Insert the Probe: Submerge the temperature probe into the ice bath, ensuring the sensing tip is fully immersed but not touching the container walls.
- Record the Zero Point: Wait for the reading to stabilize. It should read exactly at the freezing mark. Note any deviation.
- Prepare the Boiling Water Bath: Boil distilled water in a clean vessel. Account for local atmospheric pressure if extreme precision is required, or use a standard reference.
- Record the Boiling Point: Insert the probe into the boiling water. Record the stabilized reading.
- Calculate and Adjust: If the deviation exceeds the acceptable temperature deviation range in Celsius, input the offset values into the PLC or transmitter to correct the curve.
During an installation commissioning in Latin America, the client complained that the final moisture content of their fish feed was fluctuating wildly. The hardware was flawless. The issue was a temperature probe that had drifted due to thermal shock during the initial startup. A quick two-point calibration aligned the sensor with the actual chamber temperature, stabilizing the drying process immediately.

What is the Ideal Preventive Maintenance Schedule?
Shifting from reactive repairs to scheduled checks based on operating hours is the defining characteristic of a mature pet food production facility.
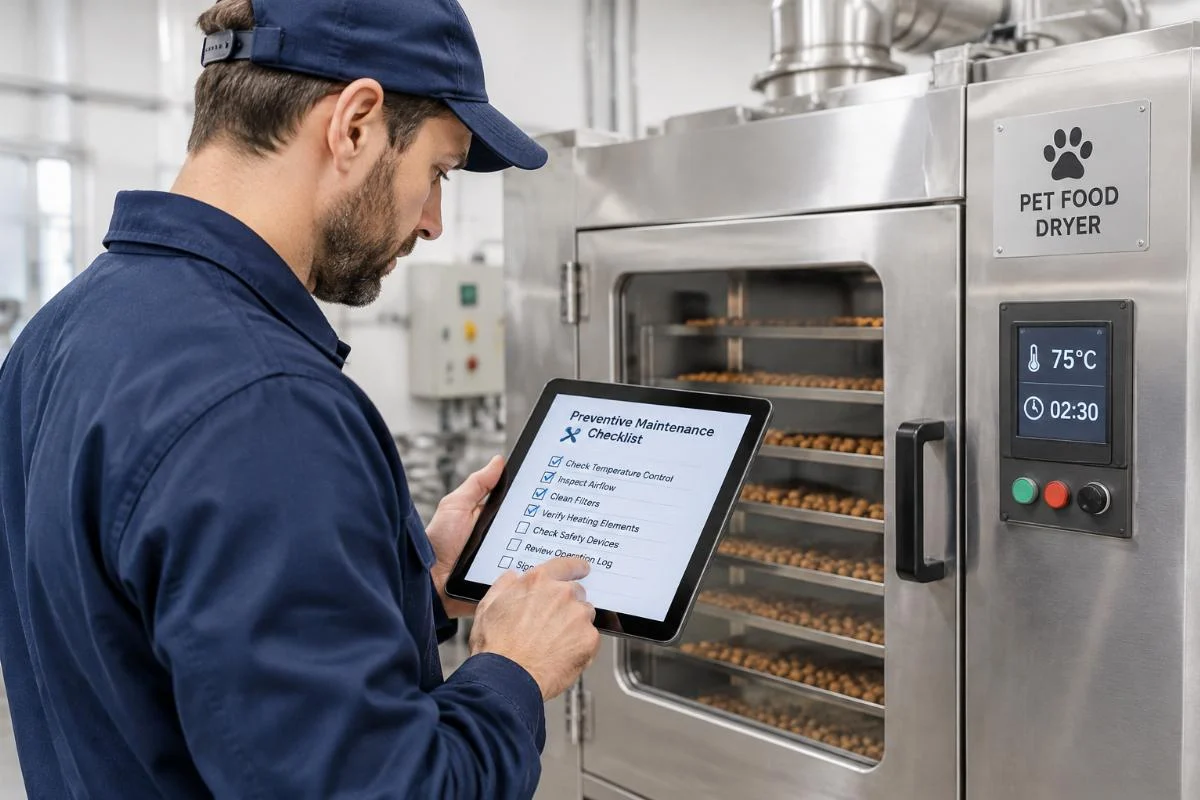
Relying on breakdowns to dictate maintenance is a costly strategy. The ideal preventive maintenance schedule integrates daily visual checks, weekly operational verifications, and monthly deep inspections. This structured approach ensures that pet food dryer maintenance becomes a predictable routine rather than a disruptive event.
- Daily: Visual inspection of belt tracking, listening for abnormal fan noise, and verifying PLC temperature readouts against a secondary handheld gun.
- Weekly: Greasing fan bearings (if applicable), checking belt tension, and clearing exhaust ducts of visible debris.
- Monthly: Detailed vibration analysis on all fans, deflection measurement on all belts, and physical calibration checks on critical temperature probes.
Building this standardized maintenance SOP requires more than just a checklist; it requires deep equipment knowledge. This is where Meiteng’s remote diagnostic assistance and on-site operator training become critical. We do not just hand over a manual; we work alongside your maintenance techs on the shop floor, teaching them how to interpret vibration data and perform probe calibrations. By embedding our field-tested troubleshooting steps into your daily operations, we help you build a resilient maintenance culture that protects your investment and ensures stable production across multiple regions.
Conclusion
Mastering pet food dryer maintenance transforms unpredictable breakdowns into manageable, scheduled routines. By rigorously checking belt tension after transit, diagnosing fan vibration through debris inspection, and calibrating temperature probes with standard methods, plant managers can secure consistent drying quality and protect their bottom line.
Machines Mentioned in This Article

cat food machine
Pet Food Processing Equipment Plant Manufacturer Dog Food
View Machine
cat food machine
Dry Dog Food Production Line Pet Food Pellet Machine
View Machine
cat food machine
Pet Food Production Line Manufacturer
View Machine
cat food machine