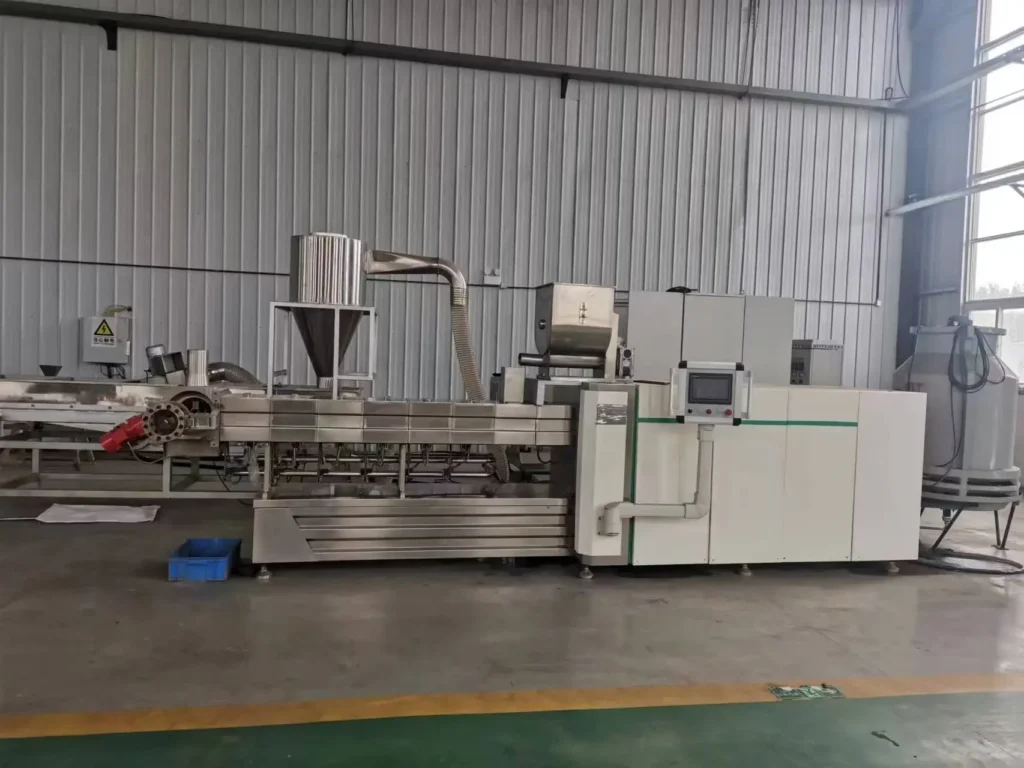
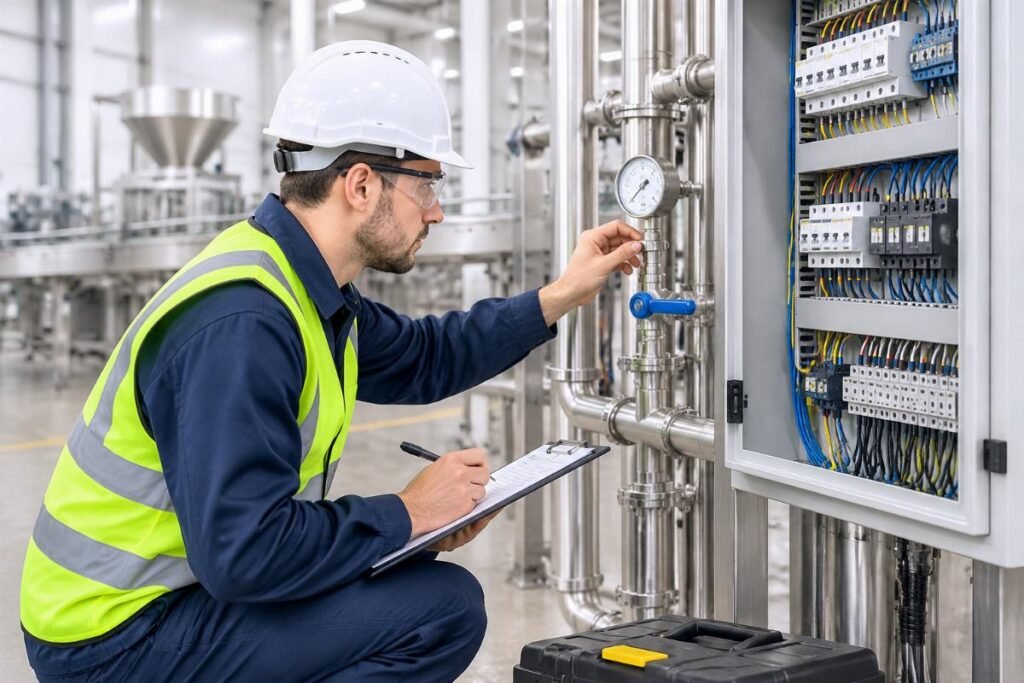
Most startup owners assume mechanical assembly is the hardest part of setting up a facility; in reality, unverified site utilities cause the vast majority of early equipment failures.
A successful dog food production line installation demands strict adherence to site utility verification before any mechanical assembly begins, ensuring core components are protected from hidden environmental hazards and guaranteeing smooth commissioning.
I still remember staring at the charred heating rings on a DS70 extruder in a Riyadh facility. Back when I was working as an overseas technician, we failed to verify the local hard water quality and voltage fluctuations beforehand. The cooling system scaled rapidly, the barrel overheated, and the entire line shut down while the buyer pointed fingers at our equipment. Since transitioning to international trade, my very first step when discussing a dog food production line installation is obsessing over the on-site water and power blueprints. In regions like the Middle East, the pitfalls of setup are almost always hidden within seemingly mundane site parameters.
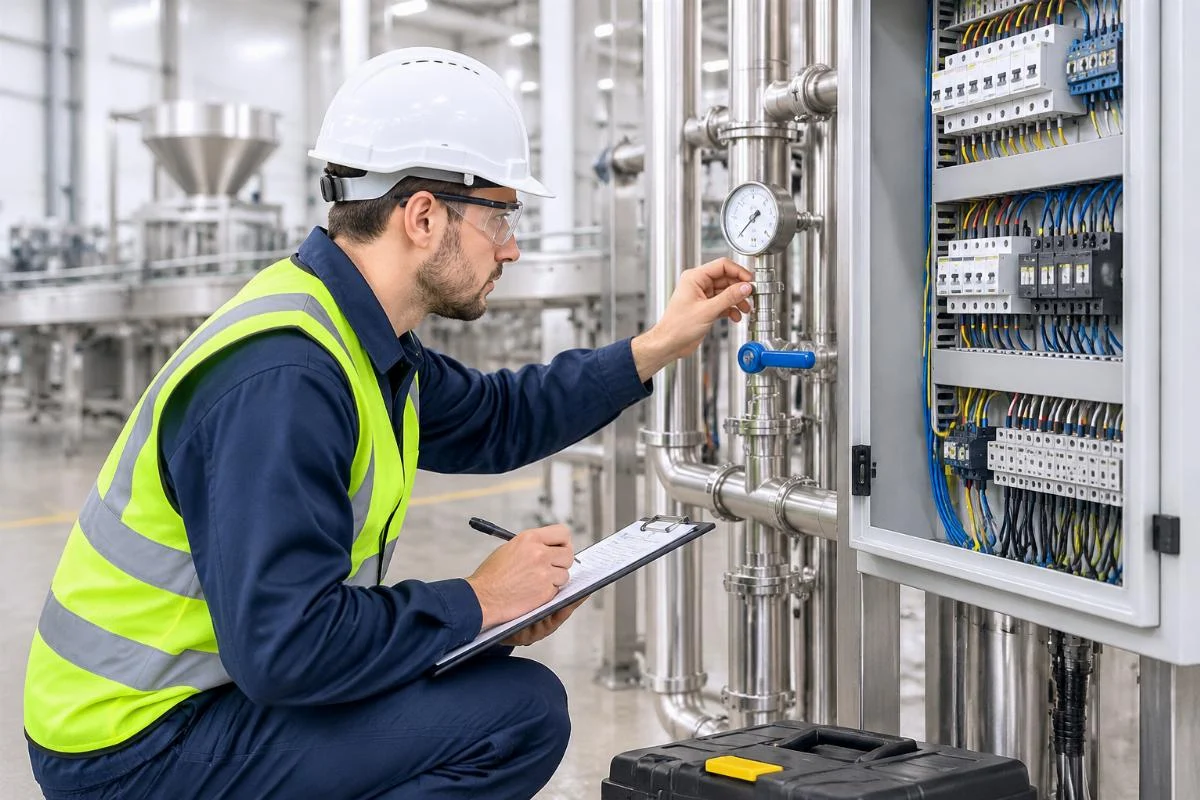
Let us walk through the exact methodology to avoid these costly mistakes.
What Site Preparations Are Needed Before Unboxing?
Verify water hardness and voltage stability to protect core extruder components before a single crate is opened.
When planning a dog food manufacturing plant setup, the physical footprint is only half the battle. The hidden killers are the utility tolerances. Hard water scaling in cooling systems is a silent destroyer. If the local water source has high mineral content, calcium deposits will rapidly build up inside the cooling jackets of the twin screw extruder, drastically reducing heat transfer efficiency and leading to barrel overheating.
Similarly, voltage fluctuations are catastrophic for the heating elements. A significant voltage drop forces the heaters to draw higher amperage to maintain the target barrel temperature, leading to premature burnout.
During a recent dog food production line installation for a startup in a region with unstable grid power, our engineering team insisted on installing industrial voltage stabilizers and water softeners before unboxing the DS70 extruder. This proactive measure, which is a standard part of Meiteng’s on-site installation and operator training services, ensures that local utility parameters are rigorously verified. By treating the water and stabilizing the power beforehand, we prevent hardware damage that would otherwise void warranties and halt production.
How to Assemble the Extruder and Auxiliary Machines?
Follow a strict mechanical sequence from the mixer to the coating drum, ensuring precise alignment to prevent downstream bottlenecks.
A proper twin screw extruder installation guide always emphasizes the sequence of assembly. You must build the line from the raw material intake toward the final packaging, ensuring each transfer point is perfectly aligned.
- Mixer to Feeder: Ensure the discharge valve of the ribbon mixer aligns perfectly with the inlet of the vacuum feeder or screw conveyor. Any misalignment causes powder spillage and inconsistent feed rates.
- Feeder to Extruder: The twin screw extruder must be leveled using precision laser alignment tools. The feed throat must match the feeder’s output trajectory to prevent bridging.
- Extruder to Dryer: The discharge conveyor must be tensioned correctly. A misaligned conveyor causes pellet breakage and increases the fines rate before the product even reaches the multi-layer dryer.
A counter-intuitive rule in mechanical assembly is that tightening bolts immediately is often wrong. Due to thermal expansion during operation, the barrel sections and die face require specific torque sequences and re-tightening protocols once the machine reaches operating temperature. Ignoring this leads to material leakage at the die face.

How to Connect Utilities and Perform Dry Runs?
Connect power and water with protective valves, then test motors without raw materials to verify rotation and thermal stability.
Before introducing any ingredients, the dog food production line installation must pass the dry run phase. This is where you verify the mechanical integrity and utility connections.
First, connect the main power supply through protective circuit breakers and ensure the phase sequence is correct. Reversing the phase sequence will cause the main motor to run backward, which can instantly destroy the gearbox internals. Next, connect the water lines using protective Y-strainers to catch any debris from the facility’s pipes that could block the cooling valves.
During the dry run, start the auxiliary machines first, followed by the main extruder motor. Run the system at low RPM without any raw materials. Monitor the gearbox for abnormal noise and check the barrel heating zones to ensure the thermocouples are reading accurately and the solid-state relays are switching correctly.
In one case, a facility skipped the dry run and directly fed materials. The main motor was wired incorrectly, and the resulting reverse torque sheared the shaft coupling, turning a simple wiring check into a mid-six-figure loss in downtime and replacement parts.
What Are the Key Steps for Wet Commissioning?
Gradually feed materials, monitor barrel temperature, and adjust cutter speed for perfect pellet shapes.
Wet commissioning is the final and most critical phase of a dog food production line installation. This is where the formula meets the machine.
Never dump a full hopper of material into the extruder at once. Start with a minimal feed rate and gradually increase it while monitoring the main motor amperage. The goal is to build a stable pressure profile inside the barrel. You must watch the barrel temperature zones closely; the friction generated by the raw material will add significant heat beyond what the external heaters provide.
Once the material begins to extrude smoothly through the die, engage the the face cutter. The cutter speed must be synchronized with the extrusion speed. If the cutter is too slow, the pellets will elongate and clump; if it is too fast, you will generate excessive fines and irregular shapes. Adjust the cutter blade pressure against the die face carefully to ensure a clean cut without damaging the blade or the die surface.
During this phase, the operator training provided by Meiteng becomes invaluable. Our engineers work side-by-side with your local team, teaching them how to read the rheology of the dough through the motor amperage and how to make micro-adjustments to the moisture injection and cutter speed. This hands-on knowledge transfer ensures your team can independently manage the twin screw extruder installation guide parameters long after the commissioning team has departed.
Conclusion
A flawless dog food production line installation relies on rigorous utility verification, precise mechanical alignment, and controlled wet commissioning.
By prioritizing site preparations and following a disciplined step-by-step methodology, startup owners can avoid the hidden pitfalls that cause early equipment failures. Treating the installation process with the same respect as the recipe formulation ensures a smooth transition from unboxing to consistent, high-quality pet food production.